


How to Install a Ceiling Mount Shower Curtain Rod Without Damaging Your Ceiling?
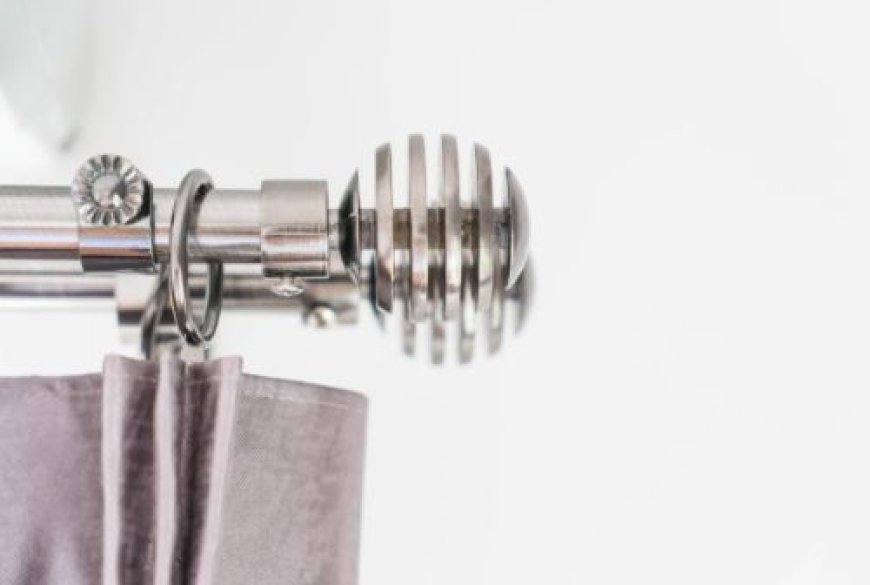
Installing a wall mounted shower curtain rod? can transform your bathroom from plain to polished. Whether youre refreshing for resale value or adding function to daily life, the right installation makes all the difference. With bathrooms driving 28?% of renovation projects in 2024, meticulous upgrades are now priority one for many homeowners. Done right, this install is rewarding and reliable. Lets walk through it like a pro.
Start With What Youre Working With
Before you grab tools, know your ceiling type. Is it drywall, plaster, or a drop ceiling? Each surface reacts differently to screws and anchors. Drywall is common and easy to work with when you use proper anchors. Plaster cracks if you rush. Drop ceilings have weak tiles that wont support weight without hitting the structural grid above. Knowing this up front helps you pick the right tools and prevents cracking or sag under load.
Find Solid Support Above
First rule for stability: find the beams or joists in the ceiling. Use a stud finder to locate them. Anchoring directly into wood studs gives your shower curtain rod the strongest hold. If studs arent where you want your rod, choose heavy-duty ceiling anchors that spread the load across a wider area of the ceiling material. This step stops common problems like sagging curtains or pulling screws over time.
Gather the Right Anchors
For drywall without studs, use toggle bolts or molly bolts. They expand behind the surface and grip snugly. For plaster, use anchors rated for plaster walls. Drop ceiling tiles alone wont cut it. Youll need to secure through the tile and into the structural ceiling above. Too many homeowners skip this and end up with a rod that pulls down when the curtain gets tugged.
Measure Carefully for Balance and Function
Measure twice, drill once. Mark your ceiling where the rod will go. The placement needs to be even so the curtain hangs straight and doesnt bunch or stretch on one side. Align the marks with the studs or planned anchor points. This helps with a smooth installation of shower curtain rod ceiling mount? and ensures your curtain glides effortlessly.
Follow Weight Support Basics
A ceiling mount shower curtain rod carries weight differently than wall-mounted ones. Shower curtains, liners, and occasional tugs add up. Heavy-duty mounts balance that load when installed into studs or with strong anchors. Check the rods instructions for weight limits. If you plan to hang accessories on it, make sure your anchor choice matches that extra load.
Step-by-Step Installation Tips That Matter
-
Mark the Layout
Mark where the rod will sit. Keep it centered and level. A line across the ceiling at your desired height is your installation guide. -
Pre-Drill Holes
Where your marks meet studs or chosen anchor points, pre-drill small holes. This protects drywall and plaster from cracking and makes anchors easier to set. -
Install Anchors Correctly
If youre not hitting studs, use the right ceiling anchors. Push or screw them in gently but firmly. They should sit flush without cracking the surface. -
Attach the Mounts
Fix the rods mounting plates using screws that fit your anchors or studs. Make sure theyre snug but not over-tightened. Over-tightening can stress the ceiling and cause splits. -
Secure and Test
Once the rod is in place, hang the curtain and liner. Pull gently to check stability. If you feel movement, tighten anchors or add support with stronger hardware.
Watch Out for Common Mistakes
Skipping stud location is the most common lapse. That leads to sagging curtains and wall damage. Another misstep is ignoring ceiling type: drywall anchors wont hold in plaster the same way without correct prep. Also, uneven drilling points give a crooked look and easy wear over time.
Finish With Confidence
By choosing the right anchors, finding solid support, and measuring precisely, installing a wall mounted shower curtain rod? becomes a manageable upgrade. Youll avoid sagging, cracks, and repeat fixes. Take your time with each stepthis earns you a strong, smooth, and visually clean finish that elevates your bathrooms look and utility.